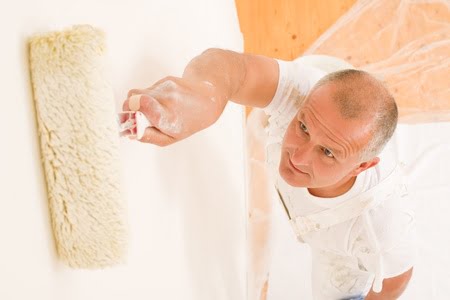
How to Paint a Room Like a Professional In 19 Steps

If you want to paint a room like a professional, then you need to be prepared with the right tools and equipment. You also need to have the right amount and best quality paint (see our other post on what makes quality paint).
At CalRes Coatings, we’ve gained many years experience in preparing homes for a quality paint job. We’d like to share that information with you today, in the event you want to try painting a room yourself at home, and want the maximum opportunity to achieve that.
First things first. You need the tools for the job. So what are the tools and equipment you need to paint your room?
- 2 Drop Sheets (Something to Cover Floor With)
- 1 Roll 12” Trimaco Masking Paper (If Painting Room With Hard Floors)
- 1 Roll 1” Masking Tape (Green 3M)
- 1 Pole Sander
- 1 Sheet of Pole Sand Paper (120 grit)
- 1 Tub of Drywall Mud
- 1 Putty Knife 2”
- 1 Putty Knife 3”
- 1 Taping Knife 4”
- 1 Fine Sanding Sponge
- 1 Roller Tray
- 1 Roller Tray Liner
- 1 Roller Cage
- 1 Roller Pole
- 1 Roller Cover (15mm Microfibre)
- 2 Sash Brushes 2.5”
- 1 Empty Gallon Can
- 1 Strainer
- 1 Rag
- 1 Set of Clothes You Don’t Care About
- 1 Shop Vac
You’ve got the tools all good to go. What’s next?
Well, how much and what kind of paint do I need to paint my room?
To paint a single bedroom takes between 1 ¼ – 1 ¾ gallons of paint, so purchase two. Acrylic-Latex Eggshell is the industry standard for painting walls.
Okay. So you’ve got the paint and you’ve got your tools. Your now ready to start preparing your surfaces and getting ready to paint.
What are the steps to painting my room?
1. Make sure you’re wearing your painting clothes
2. Push in the edges of any holes being filled with the butt end of your putty knife
3. Fill holes with drywall mud and wipe excess mud clean
4. While mud is drying tape the 12” paper down around the perimeter of the floors to protect the floor from roller splatter
5. Clean baseboards with one of your dry brushes to remove dust
6. Mask a clean line on the top of the baseboards only
7. Press down the edge of the tape that meets the wall with a clean 2” putty knife
8. Once the drywall mud is dry spot sand it with fine sanding sponge
9. Pole sand the walls in their entirety
10. Vacuum up dust from sanding, ensure tape is free of dust
11. Strain paint into empty gallon about ¾ full then pour half gallon into roller tray and leave ¼ gallon in can
12. Lightly roll over filler and feather out edges of where you roll
13. Start brushing tight to the ceiling with the ¼ gallon your poured off; start from a ¼” down and work into the ceiling line; feather out paint so it is applied thinly and evenly; do the same around windows and door frames
14. With less paint on your brush, brush tight to baseboards
15. Roll first coat on walls; with each roller full start one roller width from where you will be rolling into mid height on the wall; start rolling upwards until in the brush line (careful not to hit the ceiling); roll down through to the baseboard and up and into your previously rolled area then back into unpainted area; ensure paint is evenly applied, no fat edges, heavy spots or unevenly covered areas
16. Once dry (1.5 Hours) repeat brushing and rolling for a second coat
17. You may need to do additional coats based on coverage but do not exceed two coats per day
18. Once dry remove tape and paper; clean brushs, rollers, etc.
19. Ensure lids of paint cans are put on tightly and store in warm dry area
Well that’s it. You are done painting your room. Why not post comments and send pictures of your handy work to us. Alternatively, if you want us to come to your home and quote on interior painting, then why not contact us.
